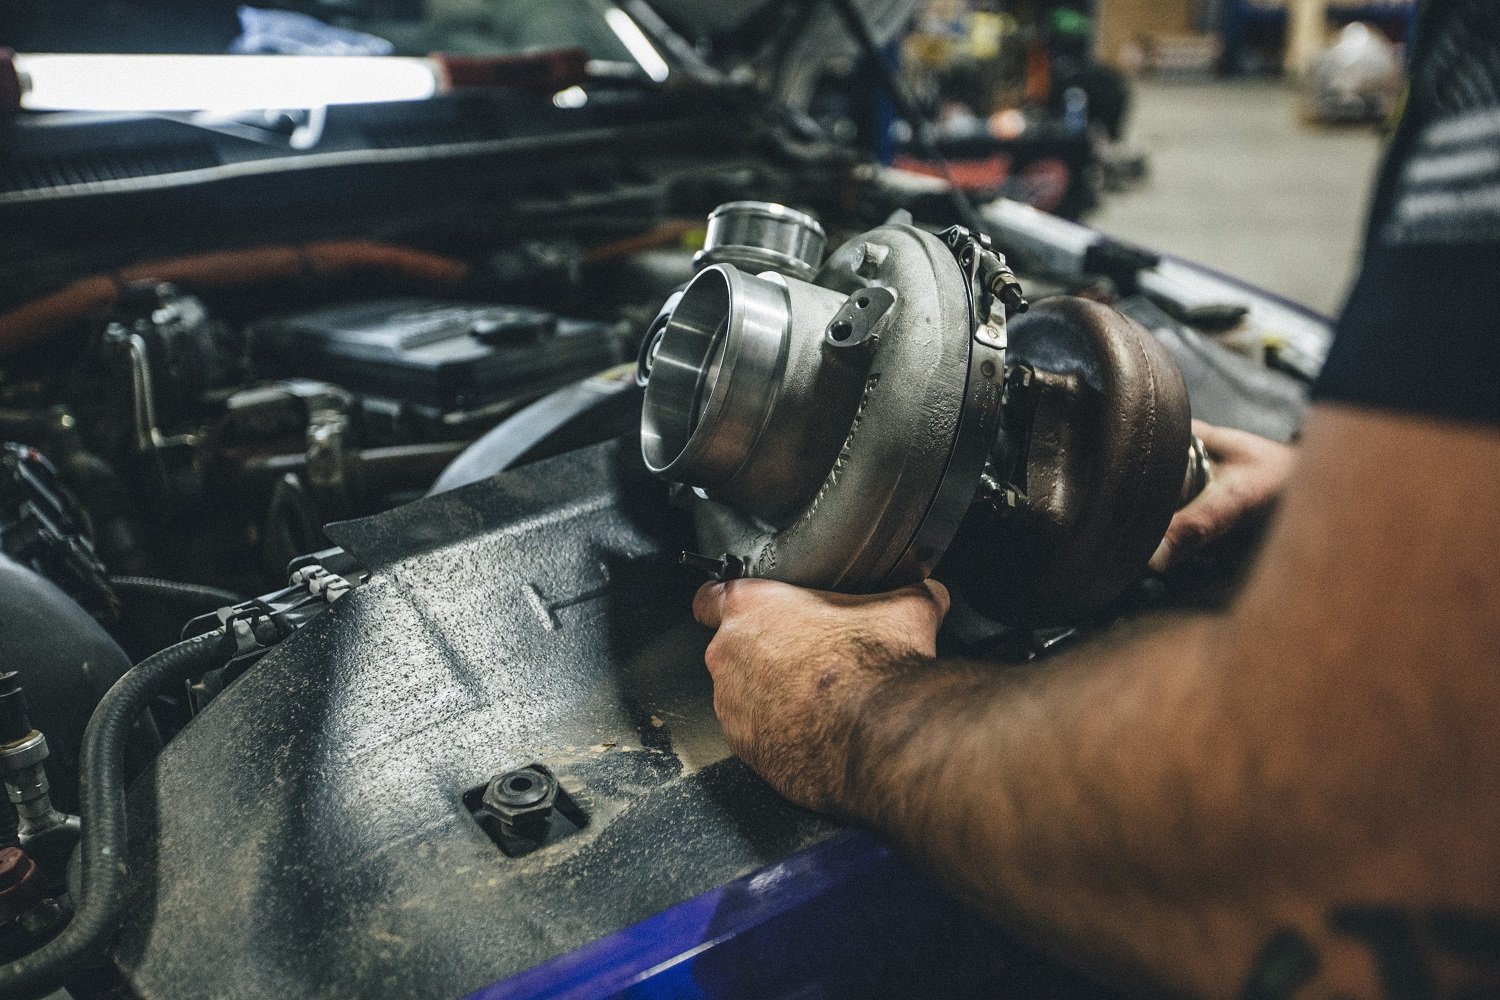
One of the best ways to save money when you own a diesel truck is to take care of any repairs and maintenance yourself. While there’s nothing more convenient than dropping your pickup off at the dealership and letting them handle the dirty work, the cost of a repair can escalate in a hurry since the average labor rate in the US ranges between $75 and $125 per hour. Many repair jobs will sound intimidating at first, but with a little patience you’ll find they are straightforward, can be accomplished with basic mechanic tools, and most of the hard work will consist of moving extra parts out of the way to access the part you need to replace.
The turbocharger is one of the main components that allows a diesel engine to produce tons of horsepower and torque while still being incredibly fuel efficient. A turbo takes advantage of the untapped energy stored in the exhaust gas to spin a compressor which forces extra air into the combustion chamber. Modern turbochargers are built to extremely precise tolerances but also operate in some pretty extreme conditions: at their peak, a turbo can spin close to 80,000 RPM and see temperatures in the turbine housing of around 1,500°F. Even in these harsh conditions, a diesel turbo will last an extremely long time, but eventually they can wear out and will need to be replaced.
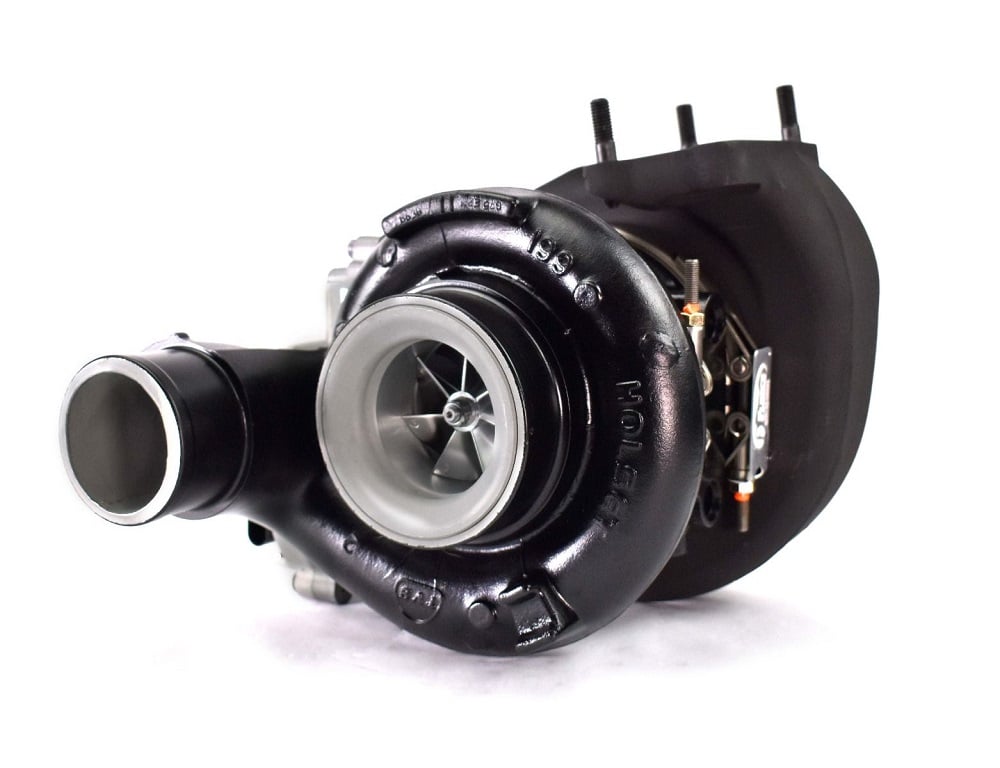
The total cost of replacing a turbo will vary, but on average most stock replacement turbochargers will be in the neighborhood of $1,000 to $1,700, and of course if you want to add a little more performance to your diesel, aftermarket turbos are also available that can boost your power output higher than stock. The good news is, if you tackle the repair yourself, the money you save from not paying labor costs can pay for a serious performance upgrade for your diesel. If you have a near stock truck and want a slight bump in power, the 63mm class of turbos has a lot of great options that will work from stock to about 650 to 700 horsepower. Fleece Performance, Calibrated Power, BD Diesel, and ATS all have great offerings for turbos that will install right in place of your stock unit and offer great throttle response, more power, and cooler EGT for towing, daily driving, or just having fun.
Cummins Turbo Replacement
The Cummins turbo diesel has been used in Dodge and Ram pickups since 1989, and even though it’s gone through many design changes, the overall configuration and location of parts hasn’t changed much. From the earliest 12-valve to the modern common rail engines, the Cummins inline six design has always been one of the easiest diesel engines to work on, and the turbo is mounted on the passenger side and is very easy to access as soon as you pop the hood. The steps for turbo replacement are almost identical for 1989 through 2007 model year trucks: you need to disconnect the exhaust down-pipe from the turbo, remove the air filter and intake tube that connects to the turbo, disconnect the charge air cooler tube form the compressor outlet, and then remove the oil feed and drain lines. On 2007.5 and newer trucks, there will be a few more connectors on the turbo for the VGT actuator as well as some coolant lines running to the turbo center section.
The turbo is held to the exhaust manifold with four bolts, and likely they will be extremely tight, and possibly rusted or seized in place since they have gone through hundreds of heat cycles. Before you attempt to loosen the fasteners, it’s a smart idea to let ‘em soak overnight in some penetrating oil. If they still won’t budge after a little soak, you can try heating the metal surrounding the bolt with a torch which usually will loosen ‘em up or try to get an impact gun in place. The inner two bolts closest to the block will be a little more difficult to reach and there is not a lot of room to swing a wrench, but once all four bolts are off, the turbo can be maneuvered out of the engine bay.
If you can’t manage to get a wrench on the inner two bolts, or if they just won’t loosen up, another option would be to simply unbolt the exhaust manifold from the cylinder head and remove them together, but just be prepared for some heavy lifting. Depending on how old the truck is, the stock exhaust manifold can warp or crack, so if you see any evidence of exhaust leaks (lots of black soot is a dead giveaway) now would be a great time to pull the manifold and replace it along with the turbo.
What If the Worst Happens?
If there is one thing every mechanic is afraid of, its breaking off a bolt in a turbo or exhaust manifold. Because we’re working with cast iron that’s been exposed to the elements for a very long time, layers of rust and corrosion can build up, and if that corrosion makes its way into the threads between the nut and bolt, it can become difficult or impossible to unscrew. If the bolt starts to loosen up but then gets tight again, apply a little more penetrating fluid, tighten the fastener back up, and work it back and forth until you get past the tight spot. Occasionally exhaust manifold and turbo bolts can twist off and break which will slow things down, but it’s just part of the job and if you plan ahead, it won’t be a huge deal. New fastener kits are readily available, and there are a few different ways you can remove the broken hardware. If you’re lucky, you can simply grab onto the protruding bolt with some vise-grips and back it out, but rarely does it work that easily.
My favorite method to remove a broken bolt works if there is at least a half an inch of threads exposed. Take a nut of the same size and thread it in as far as you can, and then thread on a second nut and tighten it against the first one. Then, grab the first nut with a wrench, and you may be able to back out the broken bolt. If the bolt is really stuck, you can try more heat with a torch to help the metal expand and loosen up any rust.
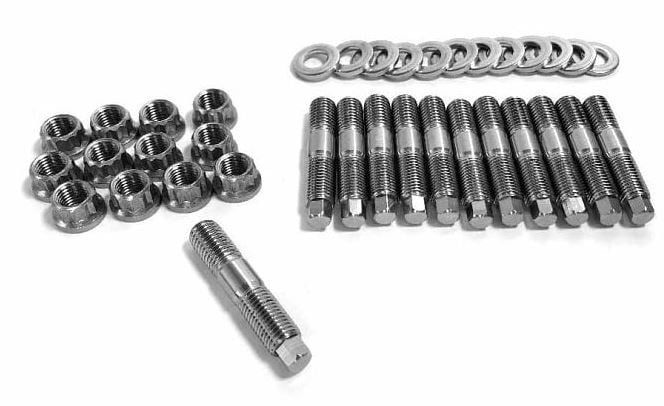
If there are not enough threads left to “double nut” the bolt, my next choice is to grab the MIG welder and weld an oversized nut onto the protruding bolt. This accomplishes two things: first it allows you to easily grab the broken bolt with a wrench, and second, it heats up the bolt which can help release any Loctite or rust on the threads. If the bolt is broken off deep inside the manifold, you could try drilling through the center of the bolt and using an easy-out to spin it out, but in my experience with broken exhaust bolts, usually an easy-out will break off before it loosens the bolt, and if this happens you’re worse off than you were before since now there’s an extremely hard chunk of tool steel embedded in a broken bolt making a second attempt at drilling almost impossible. If you run into this situation, it may be best to call in the professionals, because if you attempt to re-install the turbo or manifold with some bolts missing, the gaskets will never seal properly. The good news is, if you are replacing the turbocharger, a broken off bolt in the turbine housing won’t be a big deal because it’s getting replaced, and if you break off a bolt in an exhaust manifold, that just means it’s an excuse to upgrade to a high flow version from PPE, ATS, or BD Diesel. When you do install your new exhaust manifold, it’s a smart idea to throw away the stock hardware and secure it to the cylinder head with a new manifold stud kit from Fleece Performance. They are made from stainless steel which means they’re impervious to rust and corrosion so you never have to worry about breaking off another bolt, and they offer a superior clamping force to ensure a leak free seal.
Duramax Turbo Removal
Much like the Cummins, GM made a few design changes to the Duramax since it was introduced in 2001, but the overall look of the engine and location of major components hasn’t changed a whole lot over the last 21 years. On a Duramax, the turbo is located in the valley of the block toward the firewall, but this means there is a lot of other of stuff in the way, and clearance is especially tight on the back side of the turbo. Most of the time spent on the job will be simply moving other component out of the way to gain access to the turbo.
Start with the easy stuff like removing the air filter, intake tube, and charge air cooler tubes. Next, the serpentine belt can be removed, and the AC Compressor can be unbolted and swung out of the way, but you don’t need to disconnect the lines. The turbo mouthpiece can be removed, and depending on the year of engine, there may also be a PCV hose that attaches each valve cover to the turbo inlet. The down pipe will need to be removed from the truck next, which is a bit of a challenge given its proximity to the firewall. On LLY and later model trucks (2004.5 and up) the downpipe will be attached to the turbo with a single V-band clamp, but on the LB7 (2001-2004) it’s held to the turbo with a series of bolts. The other end of the down pipe connects to the exhaust system with a V-band clamp, and then it can be removed from the truck. Usually, this is easiest with the passenger side front tire removed and the fender liner pulled out, reaching in through the wheel well.
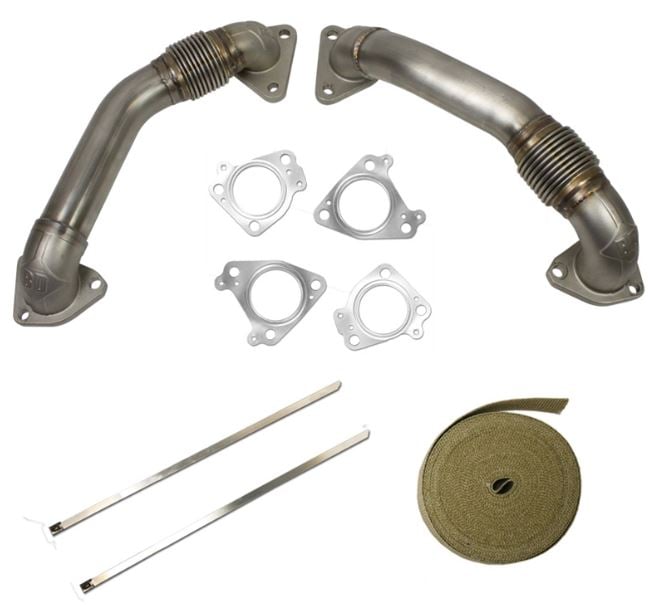
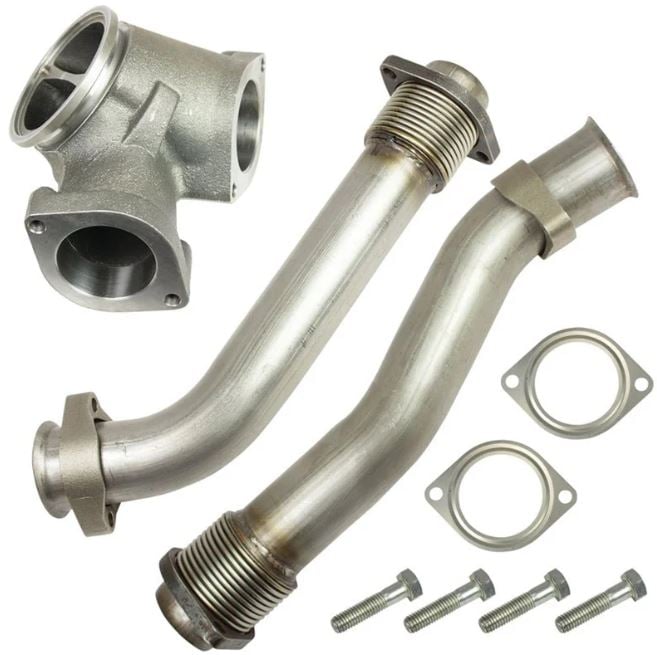
The next challenge will be to disconnect the up pipes from the turbocharger and remove ‘em from the truck. There are three bolts on each end of each pipe, and they will be extremely tight and difficult to get to. Most of the time these bolts will break off on the turbo side, but since you’re replacing the turbo, it’s not a big deal. On the driver’s side, it may help to remove the heat shield first, and then the up pipe. Once they are out of the way, you can disconnect the oil feed line on top of the turbo, remove the two coolant hoses (the Duramax uses a water-cooled center section) unplug the vane position sensor, and then loosen the two nuts for the oil drain tube that’s mounted to the top of the bellhousing behind the turbo. Finally, there will be three bolts that hold the turbo pedestal to the block which need to come out, and then the turbo can be wrestled out of the engine bay. As you lift out the turbo, be mindful of the oil drain tube as it can catch on the studs and bend if you’re not careful.
Powerstroke Turbo Removal
Depending on which year of Ford Superduty you have, removing the turbo on a Powerstroke Diesel can range from not so bad to a complete pain in the butt. Unlike GM and Ram, with each new version of Powerstroke the location of major components moved around a bit, but since all Powerstroke engines are a V8 design, the turbo is still located in the valley of the engine. If you have a 7.3 Powerstroke (1994.5 through 2003) there will be a few hoses and wires that need to be moved out of the way, the air filter and intake tube come off, and then you can remove the intake plenum that connects the compressor outlet to both banks of cylinder head and the charge air cooler tube if equipped. The turbo up-pipe and downpipe clamps can be removed, the warmup valve linkage can be disconnected underneath the turbo, and finally the two bolts holding the turbocharger to its mount can be removed, and the turbo can be lifted out of the truck.
On a 6.0 Powerstroke (2003.5-2007) you’ll also have to remove the air intake tube and change air cooler tubes, but there will be a few more things that need to be removed to gain access to the turbo, primarily the coolant de-gas bottle and main wiring harness that runs above the turbo on the edge of the cowling. The down pipe is held on with a V-band clamp as is the up-pipe, though the up-pipe clamp can be a little tricky to reach, but with a swivel head ratchet wrench or a wobbly socket you can get it. Once you have the v-band nuts removed, you will probably have to release the clamp with a flat blade screwdriver or pry bar. There will be an oil feed line up top, a wiring connector on the VGT actuator, and three bolts that hold the turbo to its mounting bracket, which will be a pain to access. When the turbo is fully loose, you will need to lift straight up to release it from the oil drain tube, and then wiggle the turbo forward and out of the engine bay.
Unfortunately, if you own a Superduty made in 2008 or later and you want to remove the turbo, you may want to farm the job out to a professional unless you’re a hardcore DIY’er. The 6.4 Powerstroke (2008 to 2010) is a bit more challenging than the rest because it uses two turbochargers attached to one another that take up a ton of space. On top of that, the 6.4s have an extremely tight engine bay, and the turbos are mounted at the back underneath the cowling. In order to remove the turbos many technicians prefer to remove the cab from the frame entirely which will make the job much simpler (albeit longer) but this does require a 2-post lift. An alternative to pulling the cab completely is to disconnect it from the frame and lift it up six or eight inches with a floor jack, but even that is not absolutely necessary. If you choose the cab-on route for a 6.4 turbo removal, just prepare for a ton of scraped knuckles and difficult to access fasteners, especially the up-pipe bolts at the very back of the turbo.
On the 6.7 Powerstroke (2011 and newer), a cab-off approach will still make the job easier, but it’s also not required. The 6.7 is slightly easier to work on than the 6.4 since they went back to using only one turbocharger, but due to the unique reverse flow cylinder heads and air intake system, there is a lot more plumbing in the valley of the engine that needs to be removed to even see the turbos. Once the upper and lower intake plenum and intercooler tubes are removed on the top of the engine, the next biggest challenge will be reaching and disconnecting the three clamps on the back of the turbine housing: one for the downpipe, and two for the up pipes. If you are attempting this job with the cab on, you may have to remove the inner fender liner and reach up beside the firewall to loosen the clamps.
DIY means Money Saved
I’ll admit, replacing a turbo on a diesel isn’t the easiest job you will ever tackle, but with a little patience and persistence, you can get the job done and your truck back on the road usually in a weekend with cash left in your pocket. The great news is there are dozens of YouTube videos out there showing step-by-step instructions with tips on how to save time and avoid common pitfalls of the job, so get out there and get your hands dirty.

