When you think of the Cummins diesel engine and Ram pickup trucks, powerful and efficient are two adjectives that come to mind. Since the late 1980s, the legendary inline-six has powered millions of trucks, and as much as I hate to admit it being a GM guy, they seem to be top of the list when it comes to reliability as well. That’s not to say they don’t have any problems, but 99% of the time, they work every time.
If you are among the crowd that likes to live in the fast lane, likely you have already or are planning on modifying your Cummins engine. As a result, there are many benefits you can enjoy, like more horsepower, better fuel mileage, cooler EGT’s, and even increased longevity, which is part of the reason why diesel modifications are so popular. However, there always is a slight risk when it comes to adding power, and for the Cummins engine, one of the most common failures is the head gasket.
What Is a Head Gasket and Why Is It Important?
Like most cars and trucks on the road today, the Cummins diesel is an internal combustion engine. While we might not think of what’s happening while its quietly idling, there are literally thousands of explosions happening inside the engine every minute. The pressure wave from those explosions is what pushes down on the piston and makes the vehicle move, but for it to work properly, that pressure wave must be contained inside the engine between the pistons and the cylinder head.
In order for the engine to be assembled, the cylinder head needs to be removable from the block, and it’s held in place with 26 bolts. Coolant circulates through the jacket of the block and inside the cylinder head to keep the engine running at the proper temperature, and it’s the job of the head gasket to seal the combustion pressure inside the cylinders and keep the coolant in the water jackets. Most modern head gaskets use an MLS design (multi-layer steel) which is several layers of thin stainless steel with a special coating applied on the outside, and small embossed ridges around the perimeter which will tightly press into the head and block to create the seal.
As long as the head bolts can do their job and keep the head tightly clamped onto the deck of the block, the gasket should live a long and happy life, even under their extreme conditions. However, sometimes the heat and stress of their environment can cause a head gasket to check out early. Inside an average diesel engine, maximum combustion pressure peaks somewhere between 180 and 200 bar, which when converted to American units is about 2,600 to 2,900 PSI. That might not sound like a lot, but if you do a little basic geometry, it turns out EACH CYLINDER has approximately 40,300 pounds forcing the head and piston apart from one another. If this immense amount of force stretches the stock head bolts just a little, the gasket will no longer be able to do its job, and you’ll experience a blown head gasket.
Symptom and Diagnosis of a Failed Head Gasket
When a head gasket blows, combustion pressure will exit the cylinder, and usually the first place it goes is into the cooling system. Normally, the coolant is somewhere below 14 psi when the engine is up to operating temperature, but when a head gasket fails, the coolant system pressure spikes up, and all that pressure forces coolant to overcome the expansion tank cap and exit through overflow. If you don’t notice the steam and massive amount of coolant leaking onto the ground and continue to drive the truck, eventually the low coolant light will come on to alert the driver, and if driven further, the engine can overheat, and you can cause damage like a warped cylinder head. This is the extreme case, and sometimes a head gasket can fail in a less spectacular fashion. A clue here would be coolant slowly disappearing over the course of several days or weeks, a milky appearance in the engine oil, or air bubbles forming in the cooling system.
If you suspect a head gasket has failed but want to confirm before tearing into the engine, a cylinder leakdown test can be performed. This involves turning the engine to top dead center one cylinder at a time (making sure the intake and exhaust valves are closed), filling the cylinder with compressed air using a special tool, and monitoring how much pressure escapes. A good running engine should have minimal leakage, but if you’ve got 20-30% pressure loss, that’s a strong indicator something is wrong. A failed leakdown test doesn’t immediately mean it’s a head gasket however, it just means pressure is escaping somewhere, so you’ve got to investigate further. If you put your ear next to the exhaust pipe and hear a small hiss of air escaping, it could point to an exhaust valve sealing problem, and the same is true for an intake valve if pressure is escaping into the intake. If you hear air escaping into the crankcase, that potentially points to a piston ring issue. During a leakdown test, the biggest indicator of a failed head gasket usually shows up as a steady stream of air bubbles coming out of the coolant expansion tank, so if you see this, it’s time to get the wrenches out.
What Parts You Should Install
If you search the web for “head gasket repair” the first several results that pop up are for the chemical products which you pour into the cooling system that promise to seal up the head gasket immediate with long-lasting results. While their $30 to $50 price tag may seem attractive or even get you out of a pinch on a road trip, in my opinion you’re better off saving your money, biting the bullet, and doing the repair the right way. The only real question is what brand of head gasket should you install?
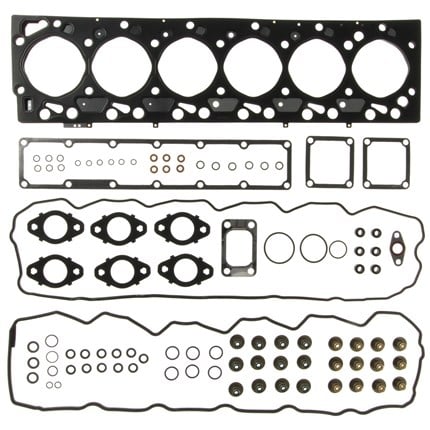
There are a dozen different manufacturers of head gaskets, but the two that I would choose are either an OEM Cummins head gasket or one from Mahle. While you can buy just the head gasket, to get the job done the right way, you’re better off buying a complete head gasket install kit that comes with gaskets and seals for every component you remove during a cylinder head removal. Mahle Victor Reinz offers a complete kit that includes every gasket you’ll need to get your Cummins back on the road, including the grid heater plate, exhaust manifold gaskets, intake horn, throttle valve, and more.
To prevent any possibility of another head gasket failure in the future, there is one more upgrade you should install on your Cummins, especially if it’s been modified in any way. The stock head bolts are barely adequate, so at the very least you should replace your original bolts with a new OEM set, but there is a much better choice. In my opinion, ARP head studs are the only way to go on a diesel engine even if its stock, but especially important on a modified one. ARP manufactures their head studs from a much stronger alloy which resists stretching unlike the stock fasteners. They will keep your head clamped to the block, which allows the gasket to do its job, and that pretty much guarantees you won’t see another head gasket failure, so ARP studs are well worth the investment if you’re going through the effort to remove the head and swap out the gasket. Also, if you have any performance minded plans, this will be a great time to install some Hamilton valve springs since you’re going to be right there.
Steps For Replacing a Head Gasket
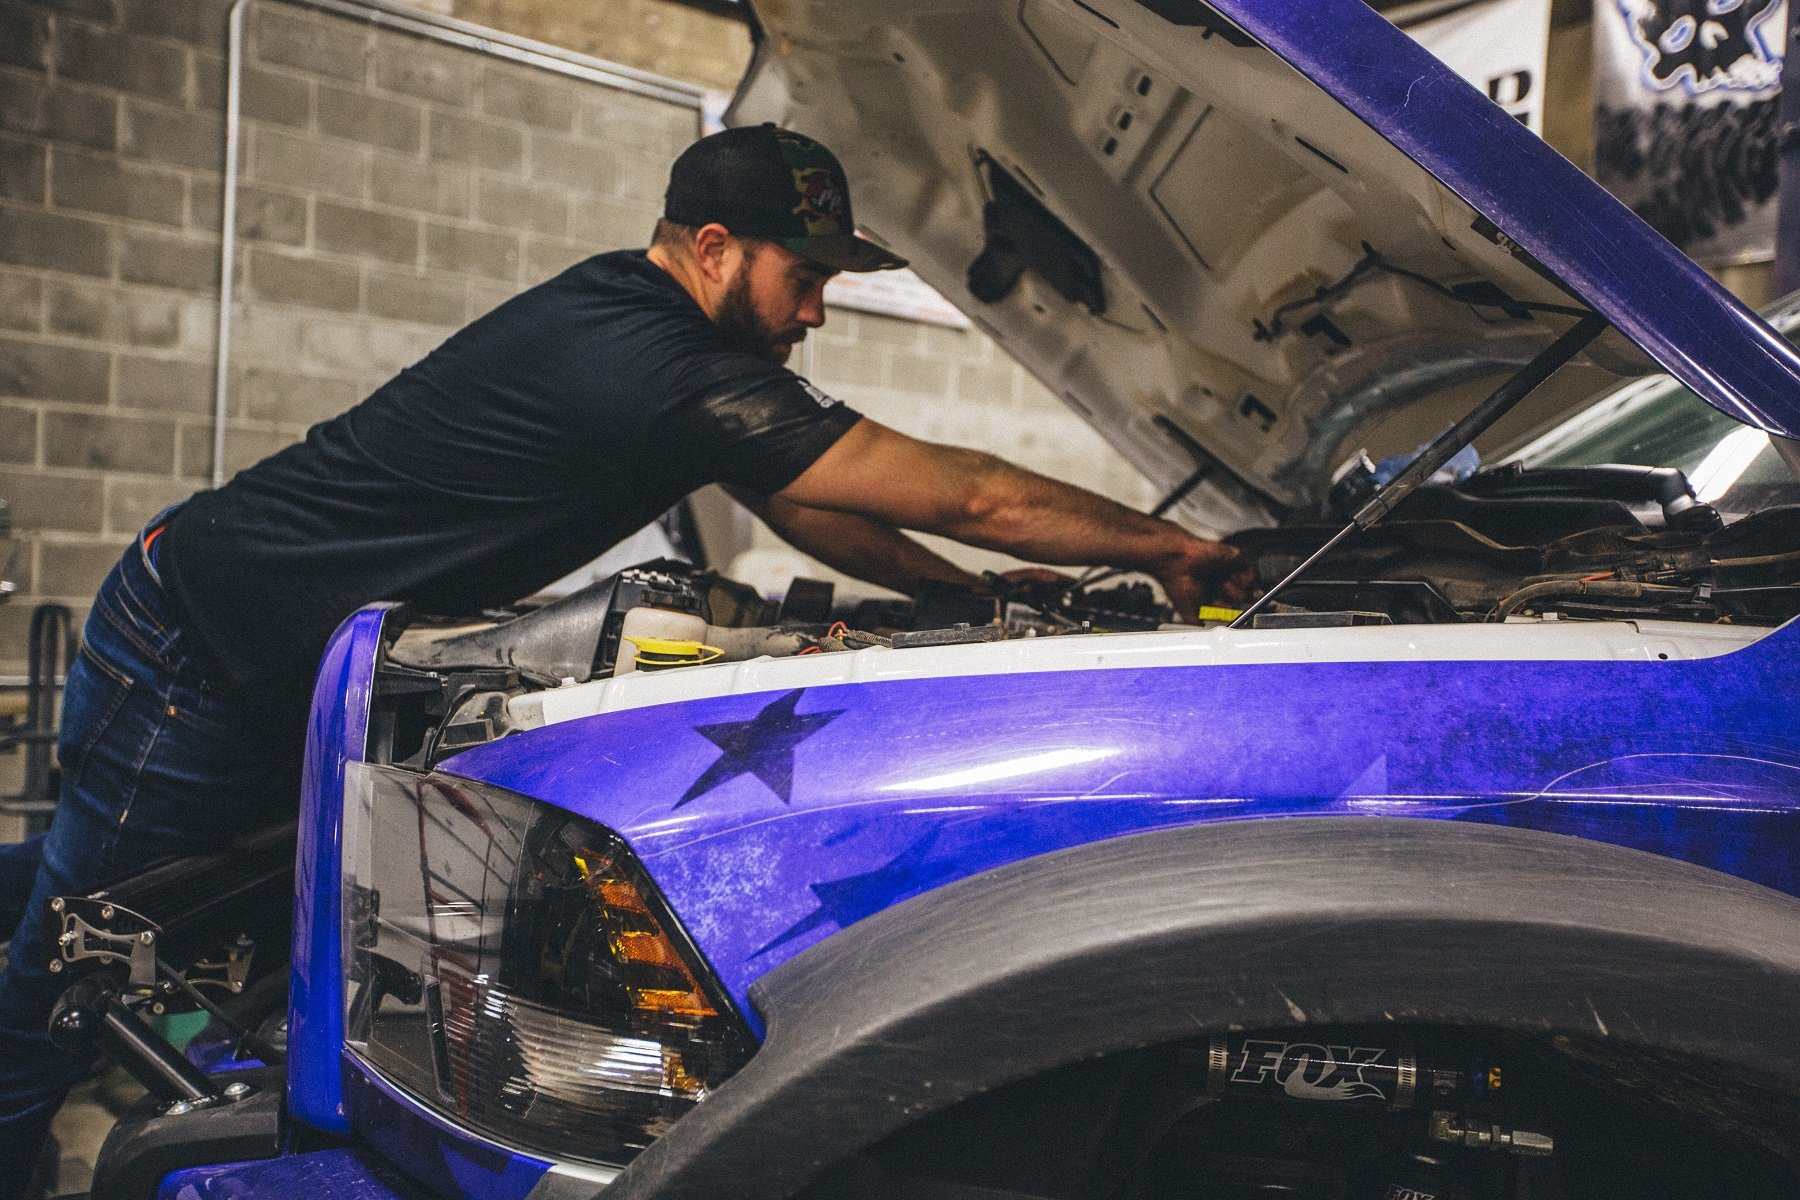
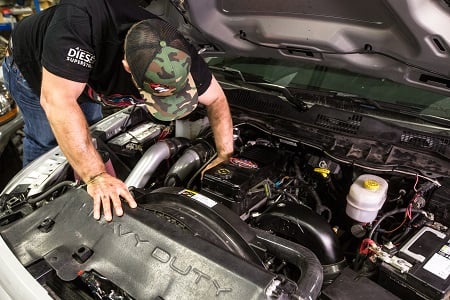
A head gasket replacement might sound a little intimidating and time consuming, but if you’re an experienced DIY’er, you should have no problem. Compared to the V8 Powerstroke or Duramax, a Cummins head gasket is a walk in the park, so as long as you have a complete set of hand tools, a torque wrench, and a cherry picker, you should be able to tackle the job. You will however need a few days to complete everything, so plan accordingly.
The first step is to drain the coolant, and after that I like to remove the EGR system (2007.5 trucks and later), including the cooler and valves on the passenger side of the engine, along with the crossover tube that wraps around the front of the engine and leads to the intake. On the driver’s side of the engine, you can remove the intake horn as well as the intercooler pipe, unplug all the connectors for the wiring harness and lay it aside, and then work on the fuel rail. There will be six hard lines that connect the rail to the connector tubes in the head, as well as a feed and return line that need to be disconnected. Once you remove the fuel rail from the engine, you can remove the grid heater plate. To wrap up the driver side, reach around to the back of the cylinder head and remove the injector return line.
On the passenger side of the engine, the turbo and exhaust manifold need to be disconnected from one another, and the exhaust manifold gets unbolted from the cylinder head and removed. If you choose to leave the turbo in place, the down pipe should support it, or if you are upgrading or replacing the turbo, you can just remove it completely once the oil and coolant lines (6.7 Cummins only) are disconnected.
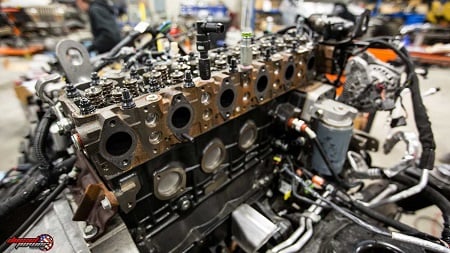
On top of the engine, the valve cover comes off, and underneath is the valve cover spacer with the wiring harness for the injectors (2003+ only). There will be two small nuts on each injector that connect the wires, and once they are all removed, the spacer and harness can lift off as one assembly. Right underneath that will be the aluminum rocker box, which is held to the head with a couple bolts. Next, remove the six nuts on the outside of the head that hold the injector connector tubes into the cylinder head and pull out the tubes, remove the injector hold down bolts, and lift all six injectors out of the cylinder head, but keep track of which cylinder they belong to.
Next, loosen the lock nuts on the rocker arms and fully back out the adjusters to loosen any preload from the valve springs, and then unbolt the rocker stands and remove ‘em from the head, once again keeping track of which one goes where. Once the valve bridges come out, all 12 pushrods can be pulled from the engine, but in order to get the rearmost ones out, you’ll need to remove the plastic access plug on the bottom side of the firewall. Finally, remove the original head bolts in the reverse order of their torque sequence, and once you’ve double checked that everything has been disconnected from the cylinder head, hook up a chain and a hoist, and lift that sucker off the engine. While it does sound extreme using an engine hoist to remove a cylinder head, remember it weighs close to 200 pounds and is in a very awkward position and high up, so even if you have two people, it can be a bit much.
Once the head has been removed, you have some cleanup and prep work to do before the engine goes back together. I highly recommend having the head sent to a machine shop to have it surfaced and give it a valve job, but they can also magnaflux the head to check for cracks. If they do find any damage that can’t be repaired, or you don’t want to wait for a machine shop, you can order a replacement cylinder head from Fleece Performance which comes ready to install with new valve springs, seats, seals, screw in freeze plugs, and a fresh coat of paint. On the block, carefully inspect each of the cylinder walls for abnormal wear or cracks. It’s unlikely that you’ll find any, but a cracked cylinder wall will exhibit the same exact symptoms as a blown head gasket, so it’s worthwhile to take a peek while the engine is apart.
You’ll have to clean the block surface for the new head gasket to seal on, and you do not want to use a Scotchbrite pad on an angle grinder. Yes, it will make quick work of the dirt and debris, but it will also create an uneven surface which can lead to sealing problems. Instead, I prefer to use a flat aluminum sanding block that’s about a foot long with 220 grit sticky-back sandpaper and a liberal application of WD40, and evenly work the entire deck surface using a crosshatch pattern and medium pressure. I’ll follow this up with 320 grit, and then thoroughly clean everything with your favorite solvent. Also make sure to run a thread chaser into the head bolt holes for good measure, and once everything is clean and dry, you can begin the reassembly process. Place on the new gasket, and very carefully lower the head back onto the engine making sure it registers into the alignment dowels.
Putting the engine back together from this point is pretty much the reverse of disassembly, but there are a few extra steps. If you are using ARP head studs (which you should) you’ll need to clearance the rocker box in a few areas since the ARP nuts and washers stick up just a little more than the stock bolts did. Once the pushrods and rockers are all in place, you can set the valve lash, and from there, everything goes back together with new gaskets and seals, and you can top off the coolant and fire it up.
Do It Yourself and Save
Depending on what shop you visit, a complete head gasket replacement can cost somewhere around two grand for just the labor, so if you’re confident enough to tackle it yourself, you can save a ton of money. Remember, nothing about this is terribly difficult, but it does take a while to do properly, so don’t expect it to be a one-day job. But, once it is done, you will appreciate the inline six engine design so much more, because the equivalent job on a Powerstroke or Duramax would easily take two to three times as long.

Hello, can you please send me the exact parts list to bullet proof the top end head gasket kit and bolts.
You bet, I’ll have someone send you an e-mail, thanks for reaching out.
Could you also email a list of recommendations on upgrading the engine, just toughen it up enough it can handle the 12-18 hours of driving a day. Truck is down due to some weird issue I can’t
Figure out and would like to ask a few questions about that as well if possible. If you could email me a parts list, and recommend what to do on beefing the engine up without spending upwards of 20 grand, and have the knowledge to help me figure this out it would be greatly appreciated
Hey I would also like a bulletproof list for the top end as well
Hey I would also like a parts list as well!
Thanks a lot for this best idea that you have shared here in detail, thanks a lot
Hey Josh doing a 22 6.7 Cummings can you send the list to bullet proof the top end head gasket thank you.
Thanks for the info im not sure if mine is gone it just runs at about 188 at idle and 195 to about 208 driving down the road at about 50 mph.the fan cuts in and it drops back down to about 190 195.No signs of coolant loss,or milky oil,no smoke, but it seems to have abit of a rough idle,but agian it doesnt heat up at idle….Could you send me a parts list including ARP bolts
Thank you
Absolutely love the write up, I have been getting ready to do a head swap on my ’08- 5500 Ram. I have done engine work before but it is still daunting. I have a lose valve seat, that hasn’t dropped. And picked up a new O-ring head. Unfortunately it is not a USA unit but I need it to hold up until I can send out the factory unit for a full work over. I am using studs and Mahle head gasket, I have been trying to get an accurate list of needs so as not to get stuck half way “The curse of all projects”. Does a head require the removal of fuel pump or gear case? And could you please share a gasket key part# would be great. I am definitely going to be on the lookout for any more write ups. I have been wrenching on my 93- D350 for a long time and recently did a dual fuel feed to the VP44 from scratch that’s been great, using almost all the old lines rearranged. Thanks for your thoughts.
Hi i would love to have the parts list and numbers if still available . Bullet proof is the way to go boys. Thans
How do u repair the lower end of a 24 valve 5.9 Cummins diesel.i have a knock when u give it more throtle
Hey i have a issue white smoke when i floor it but not at idol no milkey antifreeze or oil first 5 min if i floor it its black smoke after 10 min i floor it its white smoke coming out like crazy any ideas?